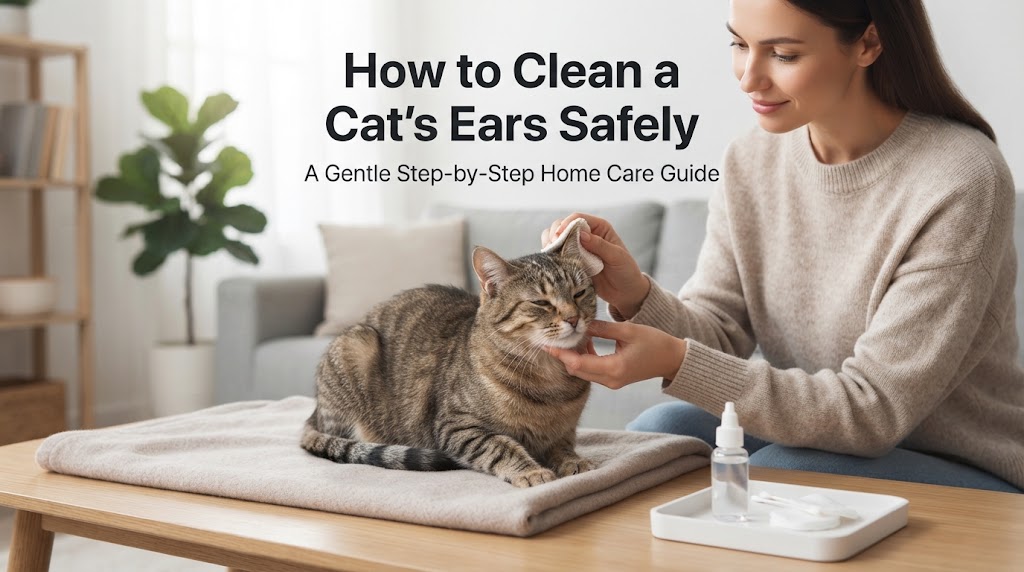
Healthy cat ears often need little or no routine cleaning. Over-cleaning can irritate the canal, while dirty or painful ears may actually need diagnosis rather than more cleaning. Ear mites, infection, inflammation, polyps and other disorders can cause debris, odor, head shaking or scratching. The safest approach is to inspect regularly, clean only when there is a reason or veterinary recommendation, and stop if the ear looks painful.
Quick Answer
Look at the visible ear flap and canal opening in good light. A healthy ear should not have heavy debris, strong odor, marked redness or swelling. If cleaning has been recommended, use a cat-safe veterinarian-approved ear cleaner, apply it as directed, gently massage the base of the ear and let the cat shake before wiping only what you can easily see. Never insert cotton swabs deep into the canal. Pain, dark heavy debris, foul odor or discharge deserves veterinary assessment.
When Ear Cleaning Helps—and When It Does Not
Normal ears may not need cleaning
Some cats maintain very clean ears throughout life. Cleaning a normal ear frequently can add moisture and irritation without benefit.
Wax is different from disease debris
A small amount of wax can be normal. Dark coffee-ground-like material may occur with ear mites, while pus-like discharge, odor or marked redness can accompany infection. Appearance alone is not enough for diagnosis.
Pain changes the plan
A cat that cries, jerks away, scratches aggressively or holds the head tilted may have significant discomfort. Do not force cleaner into a painful ear before a veterinarian checks the canal and eardrum.
The eardrum matters
Some ear products are unsafe if the eardrum is damaged. That is why using leftover drops or random home mixtures can create risk.
Underlying causes can recur
Repeated dirty ears may be related to mites, infection, allergy, polyps or another condition. Cleaning removes debris but does not necessarily remove the cause.
A Safe Ear-Cleaning Method
Only use this process when the ears are not acutely painful and a suitable cleaner has been recommended.
- Choose a quiet place and have the cleaner, cotton pads and treats ready.
- Let the cat investigate the bottle and handle the ear flap briefly before attempting a full clean.
- Lift the ear flap gently and apply the recommended amount without pushing the bottle tip deep into the canal.
- Massage the base of the ear for several seconds if your cat tolerates it.
- Release the cat and allow head shaking.
- Wipe debris from the ear flap and canal entrance with a soft pad; clean only what is easily visible.
- Stop if the cat becomes painful, panicked or the ear begins to bleed.
Signs the Ear Needs a Vet Rather Than a Cleaning
These findings make diagnosis more important than home hygiene.
- Persistent head shaking or intense scratching.
- Strong or foul odor.
- Marked redness, swelling or warmth.
- Dark heavy, yellow, green or bloody discharge.
- Head tilt, balance problems or abnormal eye movements.
- Pain when the ear or side of the head is touched.
What You See in the Ear
Use appearance as a reason to seek care, not as a way to self-diagnose.
| Finding | What It Means | Action |
|---|---|---|
| Small amount of light wax, no symptoms | May be normal | Monitor |
| Heavy dark debris | Mites/inflammation possible | Veterinary exam |
| Foul odor plus redness | Infection possible | Veterinary exam |
| Blood or severe pain | Injury/disease possible | Prompt care |
| Head tilt or loss of balance | Middle/inner ear involvement possible | Prompt veterinary care |
Common Mistakes to Avoid
Do not pour alcohol, hydrogen peroxide, vinegar, essential oils or homemade mixtures into the ear unless your veterinarian specifically instructs you to. Avoid cotton swabs deep in the canal, which can push debris inward or injure sensitive tissue. Do not use leftover medication from a previous ear problem.
When to Contact a Veterinarian
Arrange an examination for recurring debris, odor, redness, pain, discharge or head shaking. Seek prompt care when the cat develops a head tilt, loss of balance, abnormal eye movement, facial weakness or severe pain.
Related Virixoo Guides
For grooming tolerance in general, see How to Brush a Cat Without Stress. If your cat shakes its paws after handling or grooming, read Why Does My Cat Shake Its Paws?.
Train Ear Handling Before Cleaning Is Needed
When the ears are healthy, occasionally touch the outer ear flap for one second, reward, and release. Gradually teach the cat that gentle lifting of the pinna predicts something pleasant. This makes routine inspection easier and gives you a baseline for normal appearance and sensitivity. Do not pour cleaner into healthy ears simply for training; handling practice and cleaning are separate skills.
Why Repeated Cleaning Can Hide a Problem
If debris returns quickly after every cleaning, the ear is telling you that something is producing it. Mites, infection, inflammation and other ear disease require diagnosis. Continuing to wipe away evidence without treating the cause can delay care, and aggressive cleaning can make an inflamed canal more painful. Photograph the visible debris before cleaning when an appointment is planned so your veterinarian can see the original pattern.
Keep the Bottle Clean Too
Do not let the cleaner bottle tip touch the ear canal or contaminated debris. Wipe the outside of the nozzle if directed by the product instructions and close it after use. A clean technique reduces the chance of carrying material from one ear to the other or contaminating the bottle during repeated treatments.
Bottom Line
The safest cat ear is not the cleanest-looking ear at any cost. Clean only when needed, stay at the visible entrance and let pain, odor or abnormal discharge trigger an examination instead of stronger home products.